Before describing this, however, a quick note. There's one thing I didn't do and that was to spray a layer of 'dulling spray' all over the sculpture and clay dividing wall. This is very useful because it helps the plaster to stop 'beading' when poured onto the sculpture. As it was, I had no dulling spray and I found that the plaster ran off the shiny surface of the acrylic-sealed clay. This may have played a part in the discovery of lots of holes in the mould (to be discussed later).
First, dribble some plaster on, blowing it to try to get rid of air bubbles - air bubbles are your enemy! They are complete bastards so purge the feckers! Add more plaster to make a relatively thin layer of plaster only. Let it dry.
Then add another layer with 'scrim' - sheets of burlap (a coarse-weave hessian-like cloth) which you can just discern in the photo below embedded in the plaster. These will strengthen the mould enormously, and are similar in function to the glass fibre sheets used when making GRP mouldings. The presence of the burlap also means that if - quelle horreur - the mould should split, it won't actually fall apart into fragments. To apply it, cut it into pieces around 15cm by 10cm, dip them into the plaster to soak them, then slap them over the mould, adding more plaster as you go. Build up a couple of layers.

Add more plaster and smooth it off while it's still wet.

Bung another layer of plaster on, with more burlap, and then leave it overnight to cure completely.

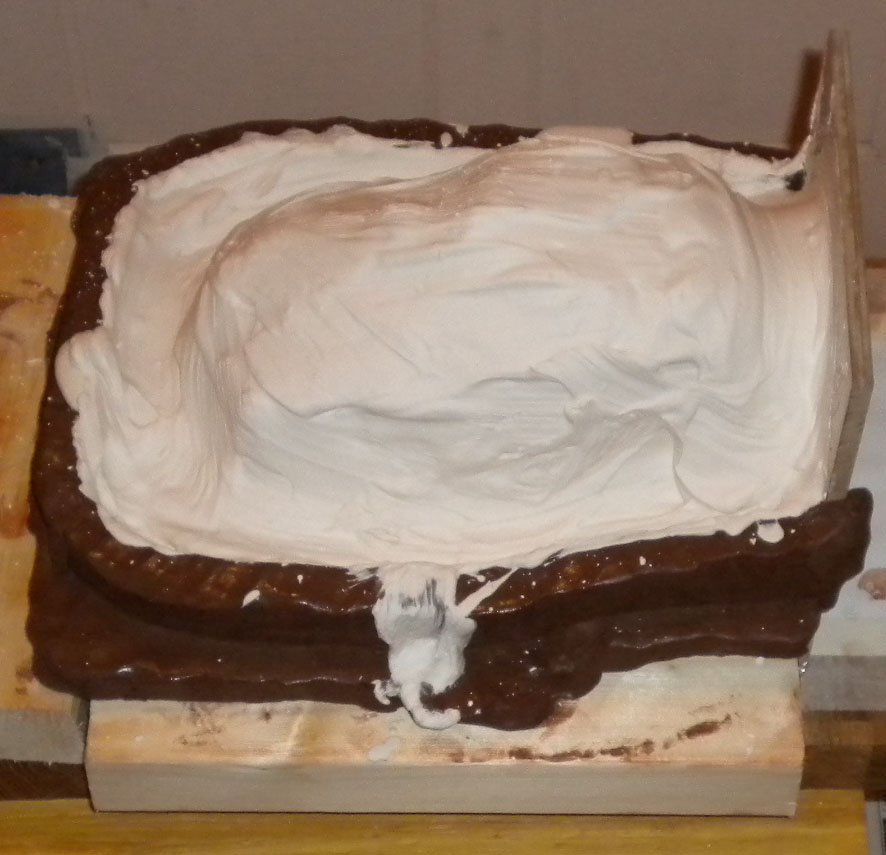
Next day, turn the whole thing over - careful, it weighs a lot - and remove the clay walls and 2x4 blocks. You now have half a mould with the face buried in plaster and the rear exposed. Again, hard to see, but you can just make out the four keys as indentations around the edge of the plaster:

Now, do not rush into pouring the second half of the mould! If you do, you'll end up with a solid block of plaster encasing the sculpture and you'll have to smash it apart.
You need to ensure that the second half, when set, will separate cleanly from the first half. To do this, first liberally coat the exposed plaster which you can see in the photo above with vaseline - don't bother coating the scupture, just the plaster mould.
Then add a few small pieces of clay, around an inch long by half across, to the plaster. When the plaster for the second half of the mould is poured, these will form cavities, or pry holes, which will allow you to push screwdrivers into these holes which will help when you come to separate the mould halves later. You can see better examples here, on Richard Svensson's invaluable blog.
There are no photos of me making the other half of the mould. Partly, I was too busy, partly I couldn't be arsed. It was much the same procedure as the first half. When you've done with pouring the various layers of plaster, let it cure overnight.

No comments:
Post a Comment